Click on the link Open the Payment Reconciliation Setup Guide
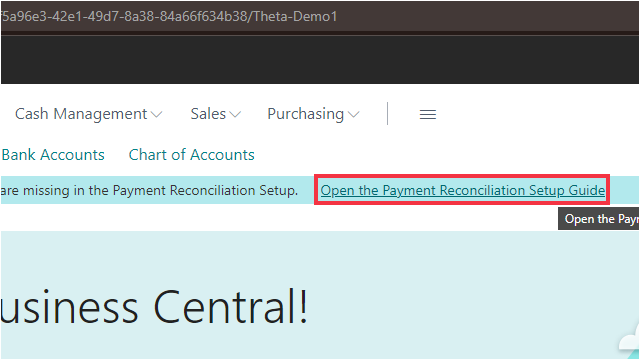

Click on the link Open the Payment Reconciliation Setup Guide
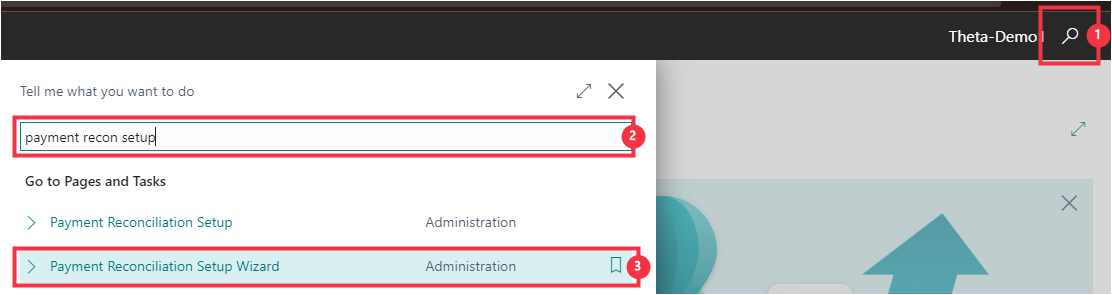
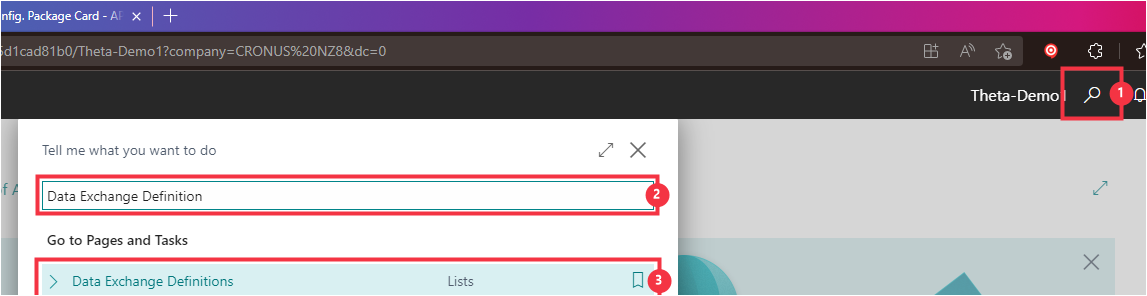
Or Search as follows.
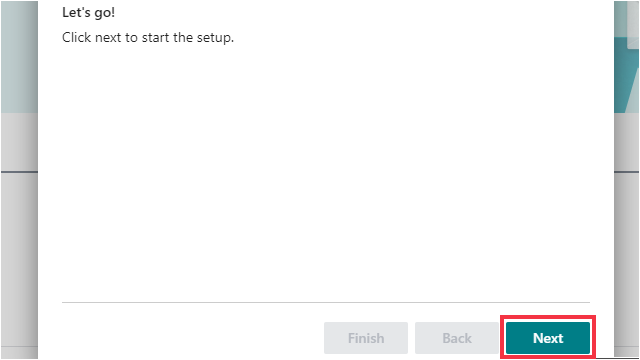
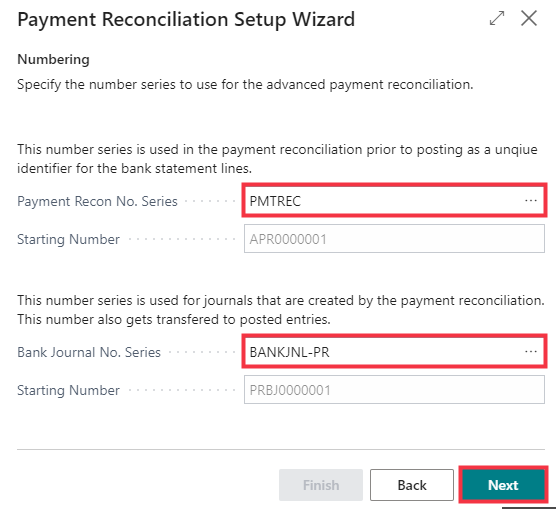
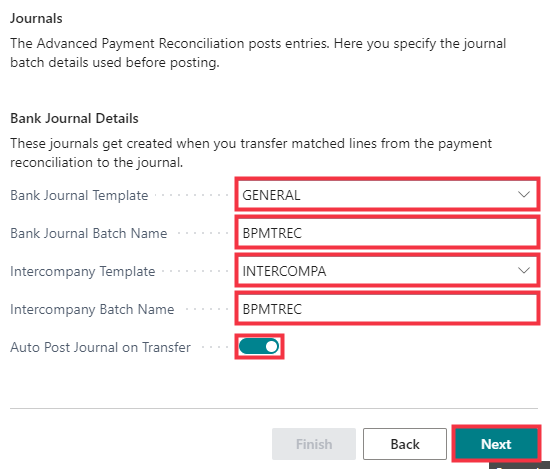
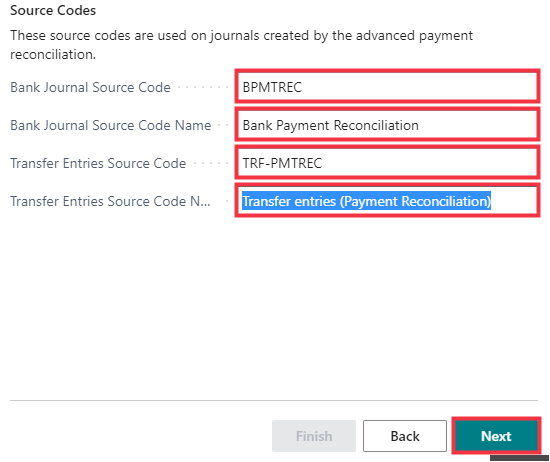
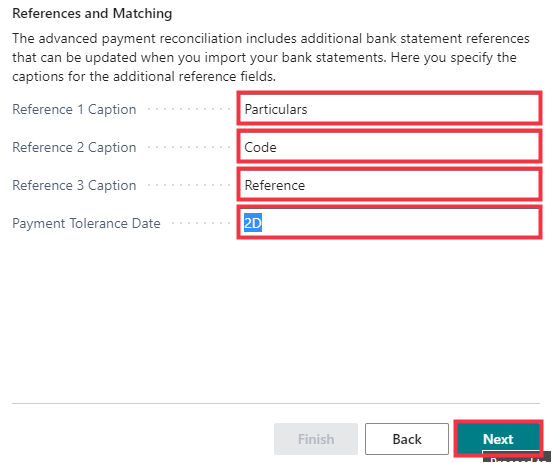
Click on the button Next
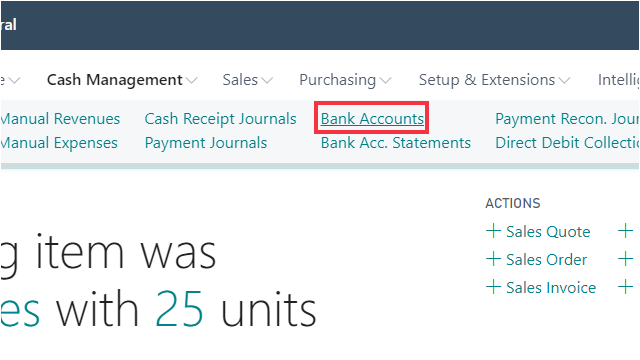
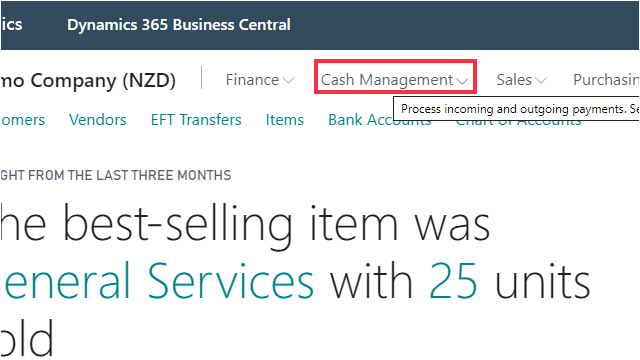
Click on the navigation menu item popup Cash Management
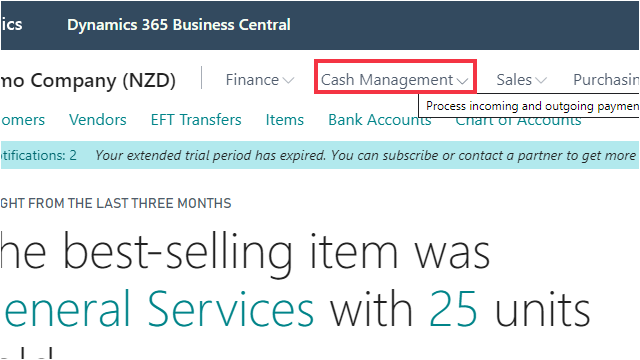
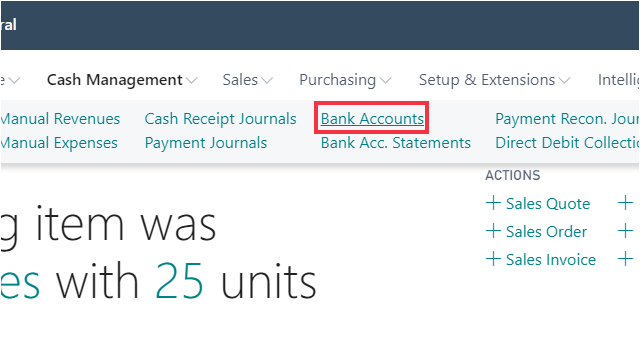
Click on the navigation menu item Bank Accounts
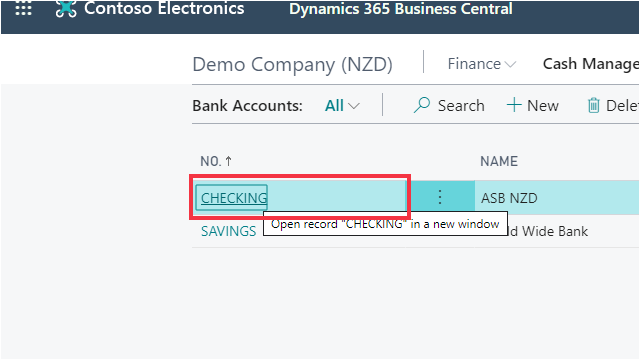
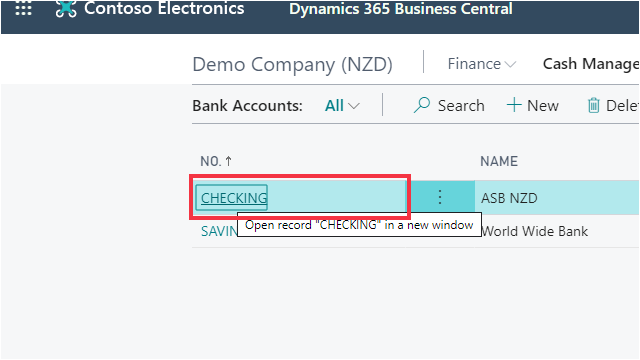
Select the bank account you want to modify. This guide demonstrates bank statement reconciliation for the CHECKING bank account.
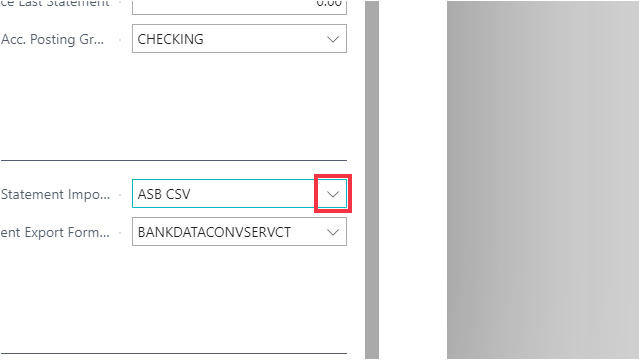
You can define the Bank Statement Import Format code to use under the Transfer tab.
If the bank includes Particulars, Reference, Code, and related-party bank account columns in the bank account statement file, make sure these fields are mapped to the related payment reconciliation fields correctly.
The following steps demonstrate how to find the data exchange definition code related to the bank account and then add the required field mappings.
Click on the navigation menu item Bank Accounts
Click on the No. for the relevant Bank Account
Click on the lookup button Bank Statement Import Format
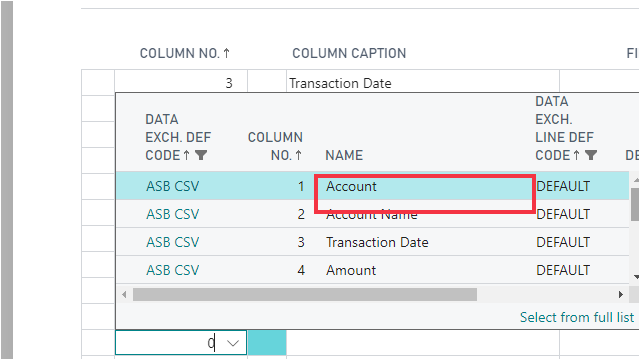
Click on the link Select from full list
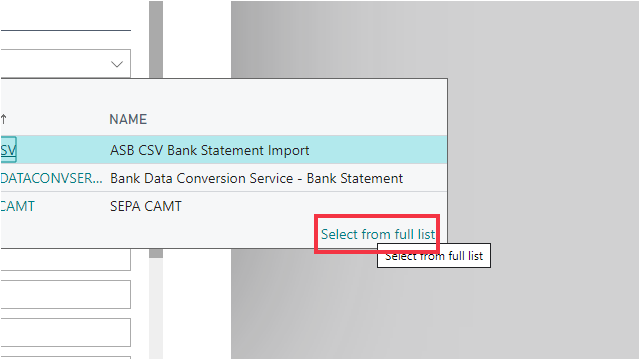
Note the Data Exch. Def. Code on the selected line. This will be the Data Exchange Definition code we need to modify. In this example it is ASB CSV

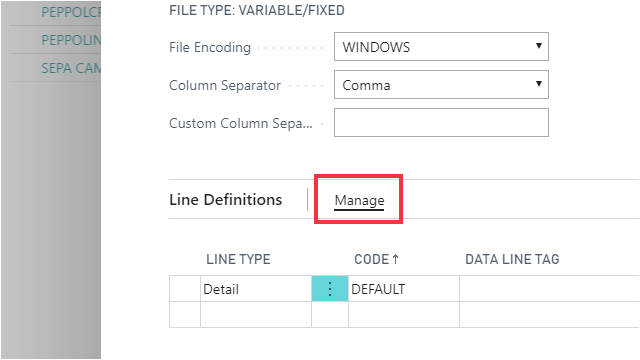
Click on the link in cell Code with the value ASB CSV

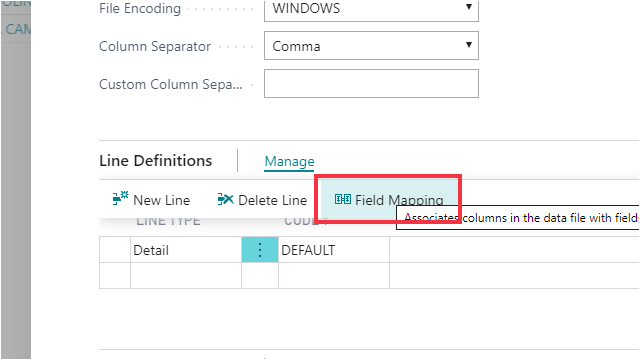
Click on the navigation menu item popup Manage
Click on the navigation menu item Field Mapping
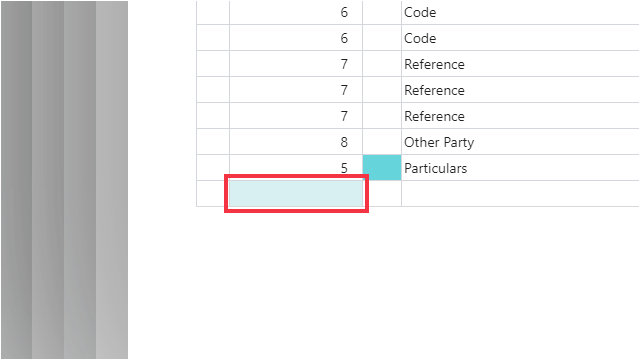
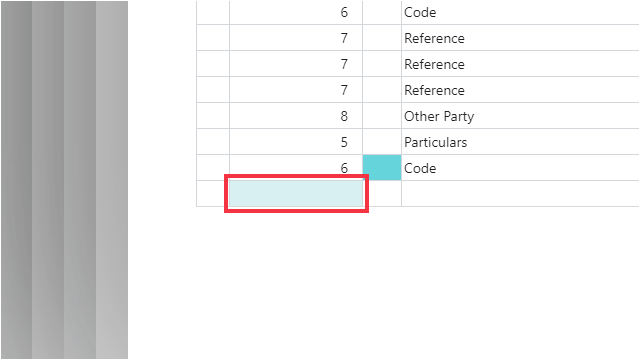
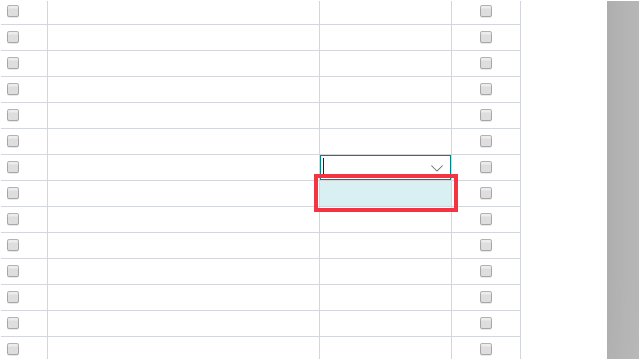
Click on the cell Column No.
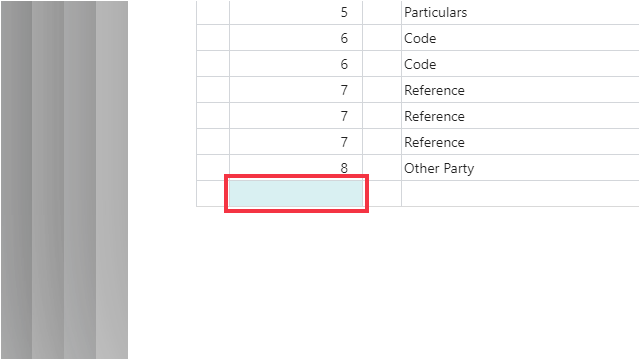
Select the Column Name for Particulars
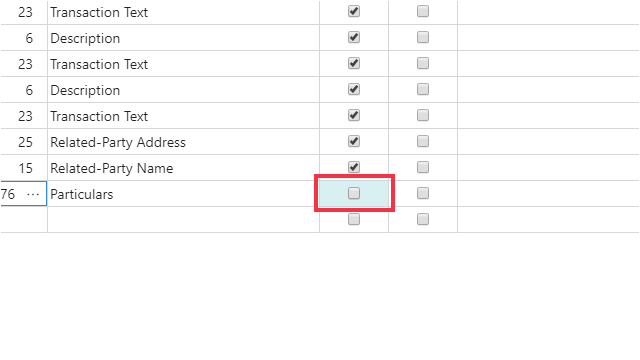
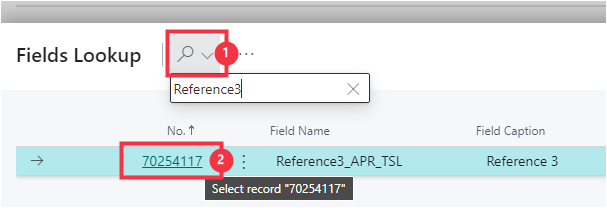
Click on the lookup button in the cell Field ID

Click on Optional
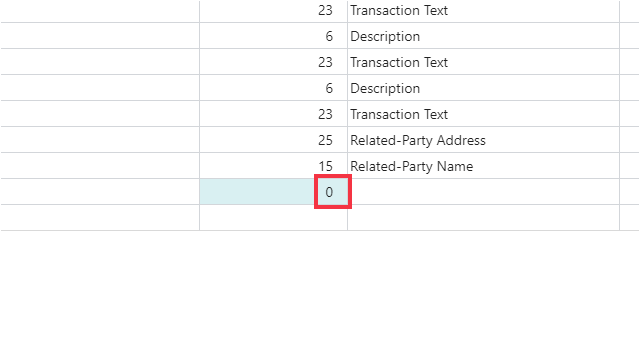
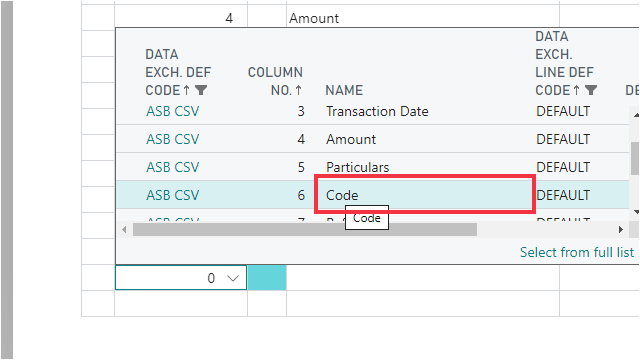
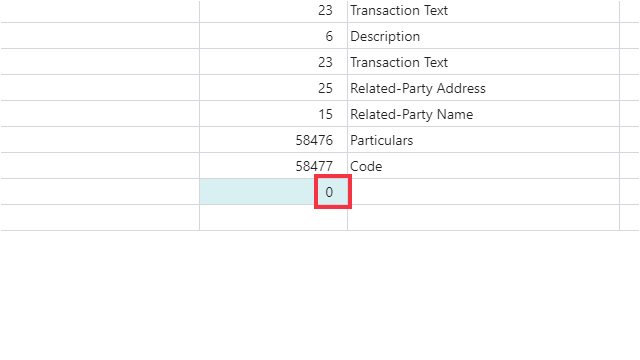
Click on the cell Column No.
Select the Column Name for Code
Click on the lookup button in the cell Field ID
Click on Optional

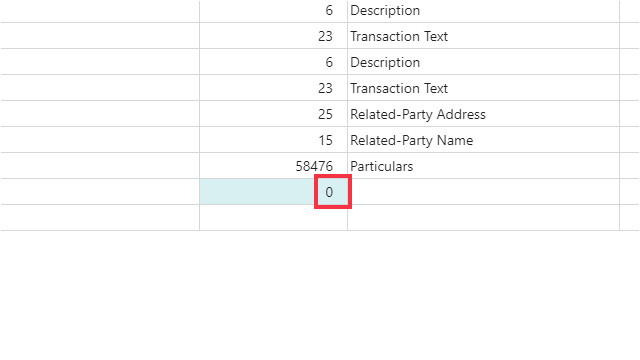
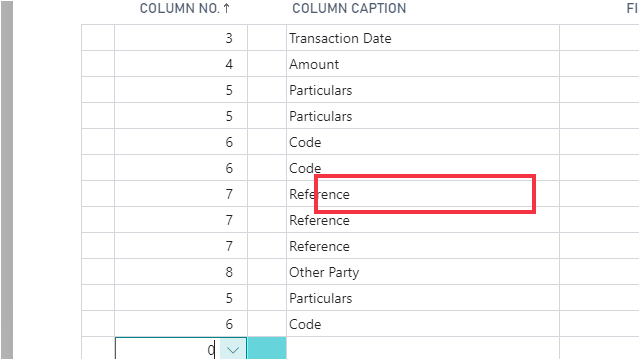
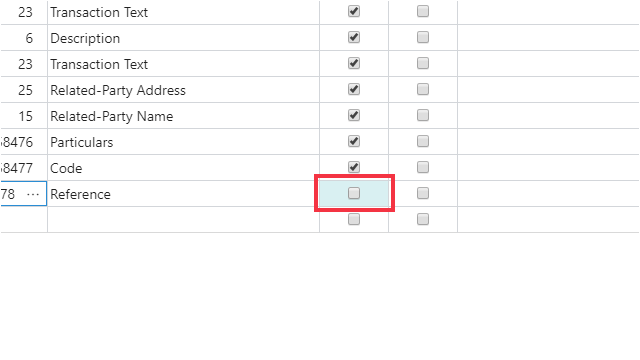
Click on the cell Column No.
Select the Column Name for Reference
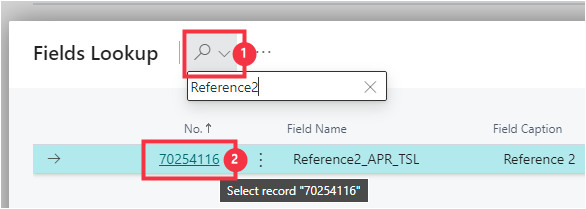
Click on the lookup button in the cell Field ID
Click on Optional
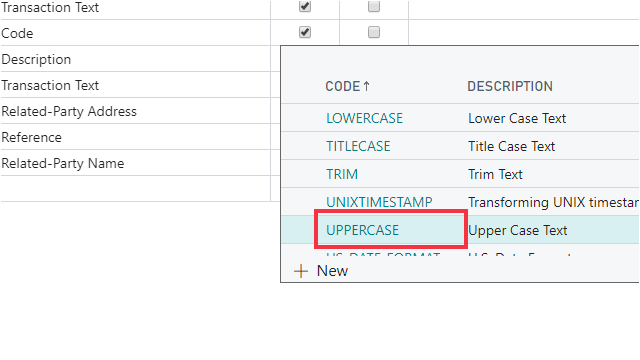
Transformation Rule
Can be used to reformat the column value using built in formatting functions.
Business Central provides a list of pre-configured transformation rules that can be utilised, otherwise new rules can be created. Transformation Rules can also be used in the Automatic Matching Rules.
If you select the UPPERCASE rule on the Code column, when the bank statement file is imported in the "Bank Account Reconciliation" page, the text in this column will be converted to uppercase.
Furthermore, if you choose to apply the transformation rule in the Data Exchange Definition field mapping, it will be applied on all of the statement lines.
You can choose too apply transformation rules only when matching the statement lines for more flexibility. For instance, if you want to convert the Code to UPPERCASE only when matched to a customer, transformation rule should not be applied here; it should be defined on the Matching Rules.
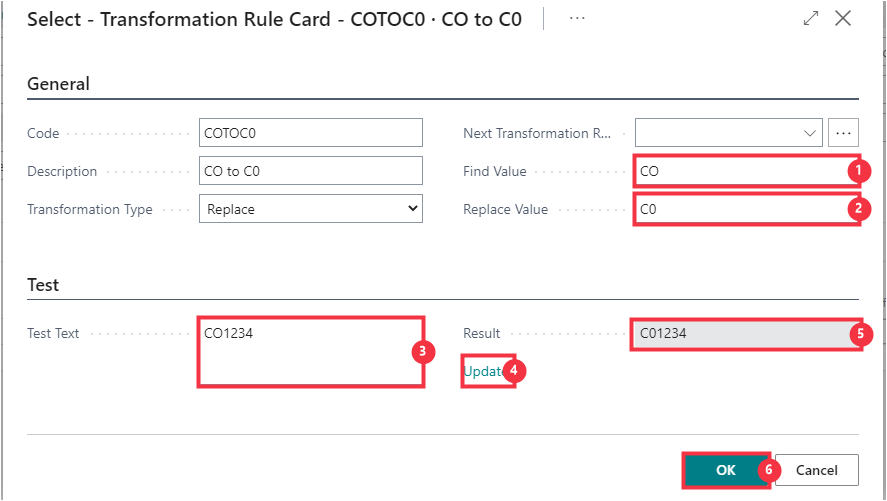
You can create a Transformation Rule to correct a possible mistake on a Customer's payment references and apply it to Automatic Matching Rules. Here is an example of correcting a reference entered as the letter C and letter O rather than the number 0 (zero) for customer numbers starting with a C and followed by 5 numbers.
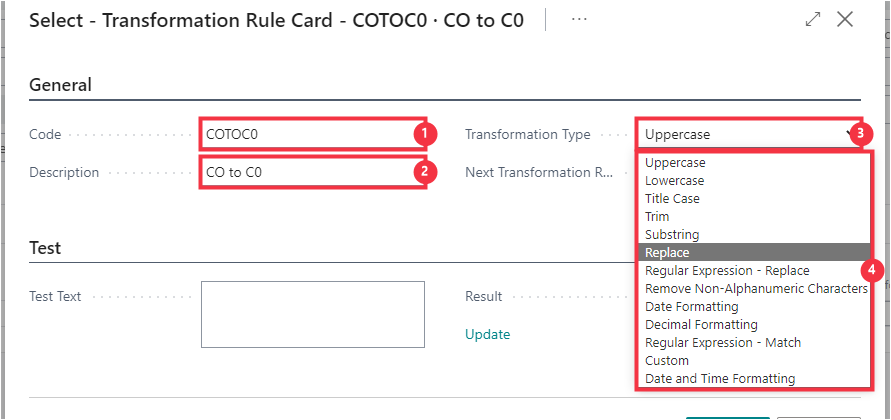
We will transform a reference entered as the letter C and letter O rather than the number 0 (zero).
See more details on standard Business Central Data Exchange Definitions and Transformation Rules at https://docs.microsoft.com/en-nz/dynamics365/business-central/across-how-to-set-up-data-exchange-definitions