Click on the button My Work (change area)
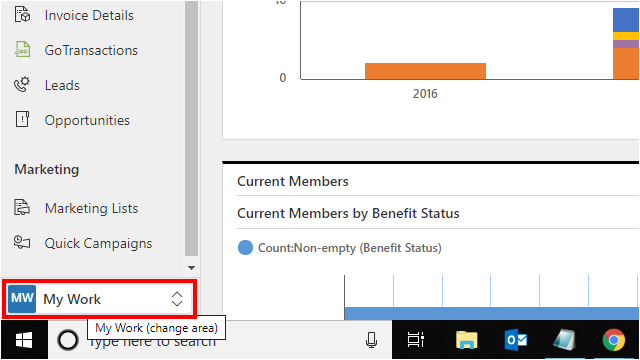

Click on the button My Work (change area)
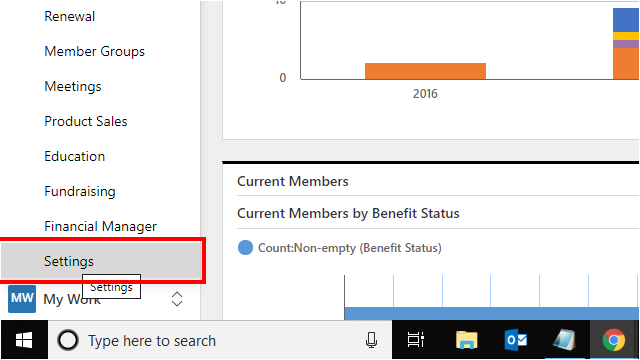
Click on the item Settings
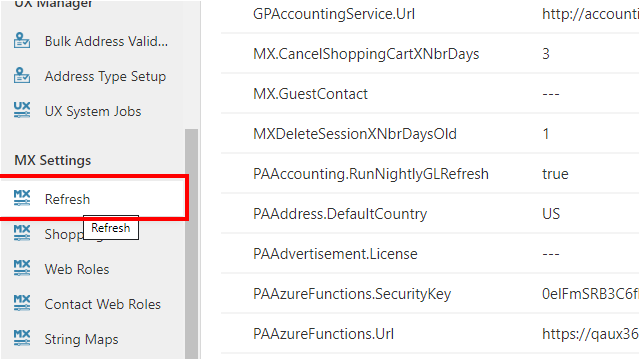
Click on the item Refresh
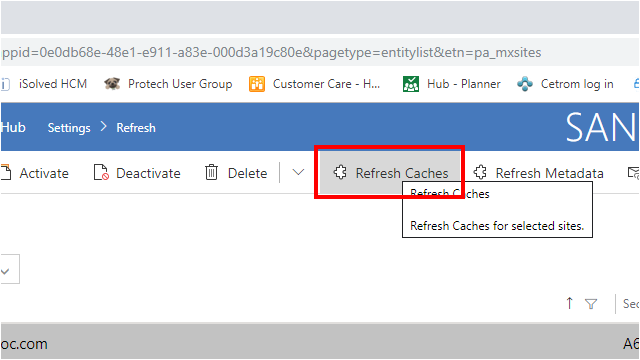
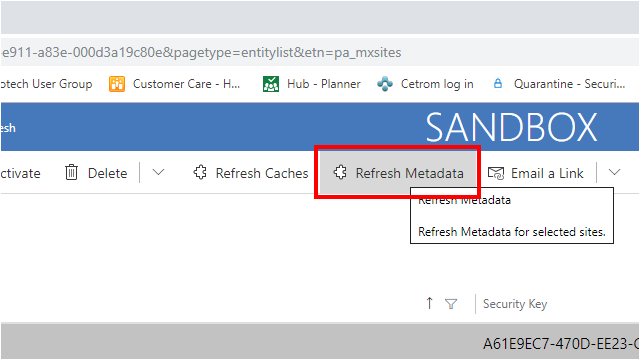
To run either the Refresh Caches or the Refresh Metadata utility, start by selecting a single MX Site record. Once a record is selected The Refresh Caches and Refresh Metadata buttons become available on the list view toolbar.

Click on the menu item Refresh Caches
UX will display a blank dialog while it waits to connect to the selected site and runs the utility. Do not close this dialog, or you risk interrupting the utility. When the process is complete, UX will automatically close the blank dialog and display a new dialog with the results.

This process should be run after modifying any Advanced Find or setup data that is exposed to MX Online.
Once MX Cache has been refreshed a message of Cache Update Successful will show.
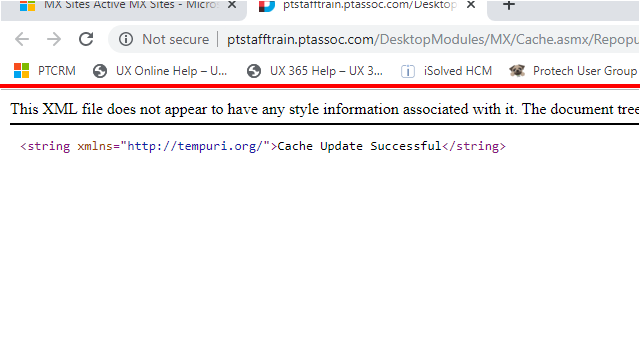
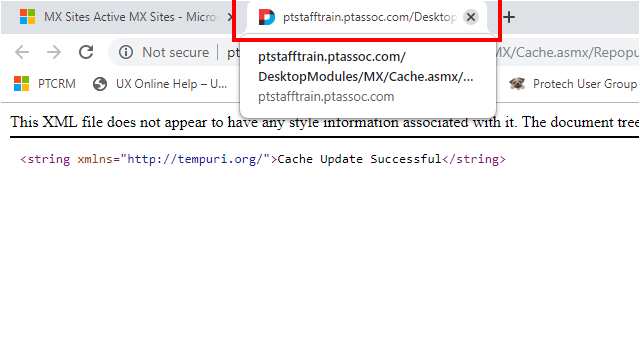
Once successful, close the tab.
Click on the menu item Refresh Metadata
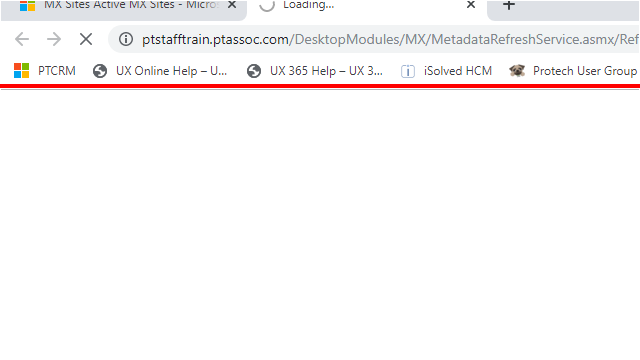
UX will display a blank dialog while it waits to connect to the selected site and runs the utility. Do not close this dialog, or you risk interrupting the utility. When the process is complete, UX will automatically close the blank dialog and display a new dialog with the results.
This process should be run after publishing any customizations that are exposed to MX Online.
Once Metadata has been refreshed a message of Metadata Generation Successful will show.
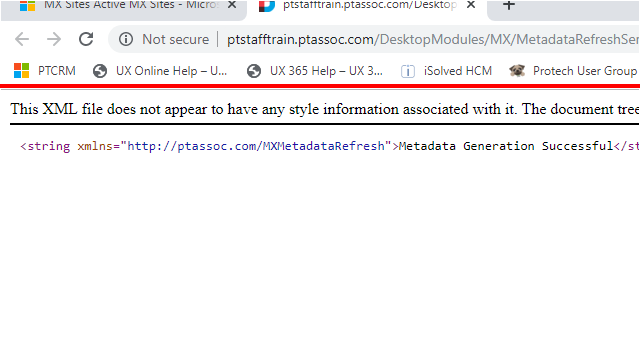
Once successful, close the tab.
If you want to run both utilities while the same record is selected, you will have to wait to close the confirmation dialog box from the first utility before clicking the button to start the second utility. Each utility runs on one MX site record at a time. Therefore, if multiple MX Site records are selected, the utility will not run.